


Gym Layout Planning: A Step-by-Step Guide to Equipment Placement, Spacing & Zones
Updated: Sep 30
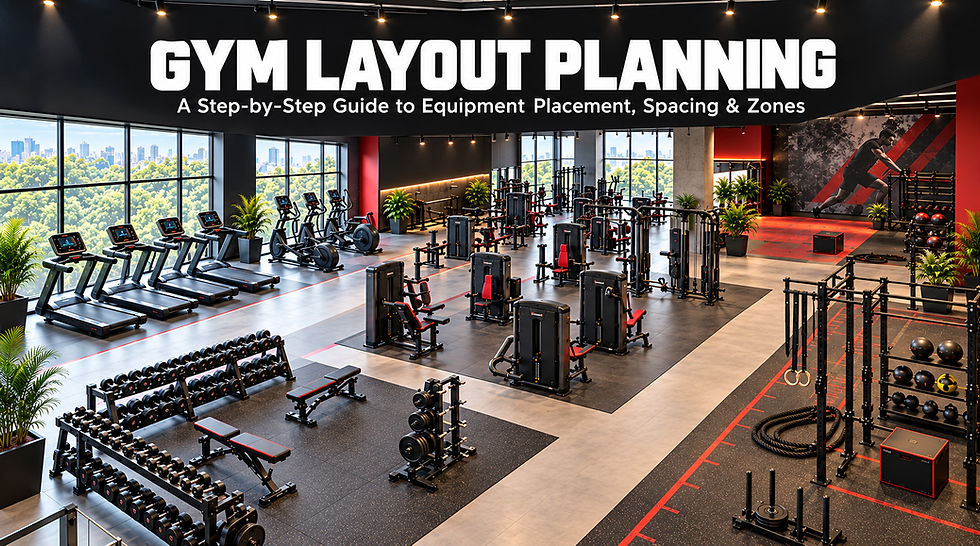
Opening or expanding a gym involves dozens of decisions: location, branding, equipment brands, pricing, staffing but few carry as much long-term weight as the gym floor plan itself. It's the one decision that touches everything else. A great location with a poor layout still feels cramped. Premium equipment placed carelessly still creates bottlenecks and safety risks. Even a well-funded franchise rollout can stall if each location's layout has to be redesigned from scratch instead of following a repeatable system.
This is exactly why layout planning deserves more attention than it usually gets. Most new gym owners focus their early energy on picking equipment brands and finalizing lease terms, and treat the actual floor plan as something to figure out once the machines arrive. By the time spacing problems or traffic bottlenecks show up, walls are already built, flooring is already down, and fixing it means costly rework: torn-up flooring, relocated electrical points, or equipment sitting unused because there's no safe way to reach it.
The good news is that gym layout planning follows a logical, repeatable process. It isn't guesswork, and it isn't purely a design preference, it's a mix of measurable standards (accessibility codes, safety clearances, industry space benchmarks) and practical decisions about how your specific members will move through the space. This guide walks through that entire process step by step: what to assess before you place a single machine, how to sequence the planning itself, the spacing and clearance standards you're legally and practically bound to follow, and how to size your zones based on your facility's square footage. Whether you're opening your first location, renovating an existing one, or standardizing a layout blueprint across multiple franchise units, the same core principles apply.
Why Layout Planning Impacts Your Gym's ROI
Every square foot of a gym costs money in rent, flooring, and equipment. A layout that wastes space, creates bottlenecks, or crowds members near machines doesn't just look messy but it directly affects retention and revenue. Members who feel unsafe cancel memberships faster, and staff spend more time managing complaints than growing the business.
For investors and franchise owners, layout is also a scalability question. A design that only works in one unique space can't be replicated. A layout built on clear, repeatable principles can be rolled out across new locations with minor adjustments, which is exactly what keeps franchise expansion profitable instead of chaotic.
4 Things to Assess Before Placing Any Equipment
Before a single machine gets positioned, four factors need to be locked down. Skipping this stage is the most common reason gym layouts need expensive rework later.
Space, Ceiling Height & Structural Limits
Measure the usable floor area first, not the leased square footage, but what's left after columns, Heating, Ventilation, and Air Conditioning (HVAC) ducting (refers to the network of pipes or metals) , and fixed walls are accounted for. Ceiling height matters just as much: pull-up rigs, rope climbs, and Olympic lifting platforms often need 10–12 feet of clearance, so a low ceiling can rule out entire equipment categories before you even start planning zones.
Target Members & Training Style
A gym built for powerlifters needs a very different footprint than one built for group fitness or general wellness members. Knowing your core audience: bodybuilders, functional training enthusiasts, casual gym-goers can determine how much floor space goes to free weights versus cardio versus open functional areas.
Budget & Compliance (Fire Code/ADA)
Layout decisions and budget decisions happen together, not separately. Fire exit clearances and accessibility requirements aren't optional extras to squeeze in later, they're legal minimums that shape where equipment can and can't go from day one.
Step-by-Step: Planning Your Gym Layout
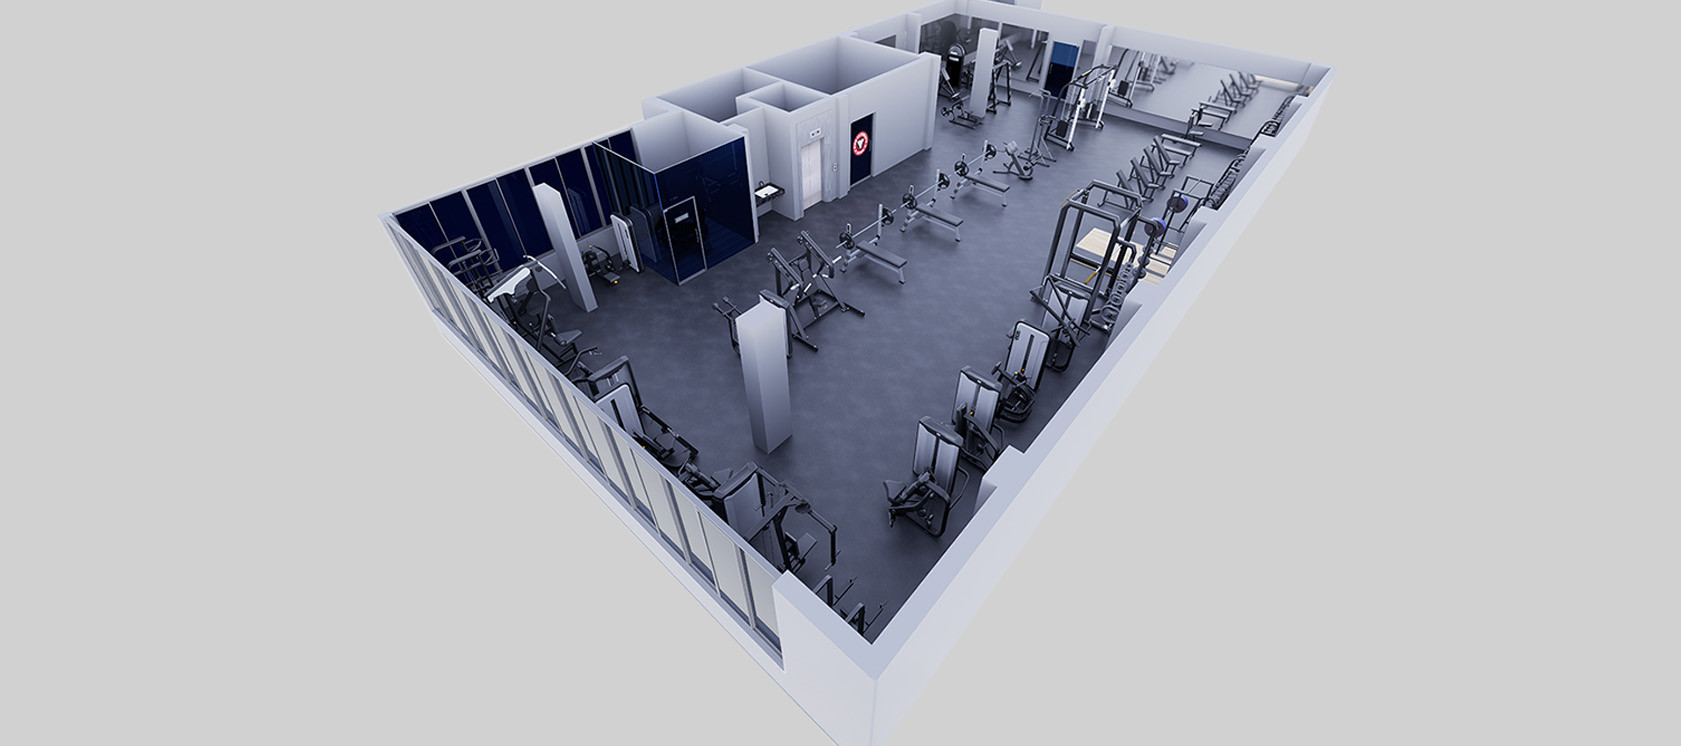
With space, audience, and budget factors clear, the actual planning can begin. Following these five steps in order keeps decisions logical and prevents the common trap of placing equipment first and figuring out the rest of the layout around it.
Step 1. Sketch the Space & Mark Fixed Points
Start with a scaled floor plan and mark everything that can't move: support columns, electrical panels, plumbing, doors, and windows. This step is the foundation of solid gym floor plan design, it becomes the skeleton every other decision is built around.
Step 2. Define Zones
Break the floor into broad functional areas : cardio, strength, free weights, functional training, and recovery, before placing individual machines. Deciding on zones first prevents the common mistake of placing equipment piece by piece and running out of usable space halfway through.
Step 3. Map Traffic Flow
Trace the path a member takes from entry to locker room to workout floor and back. High-traffic routes should stay wide and obstruction-free, while niche equipment can sit in quieter corners without hurting flow.
Step 4. Place Equipment (Heavy → Light)
Position large, fixed equipment, power racks, cable machines, platforms first, since they're the hardest to relocate later. Lighter, mobile equipment like dumbbells and benches can flex around the anchors once they're set.
Step 5. Set Safety Clearances
Once equipment positions are drafted, go back and check spacing against safety and accessibility minimums before finalizing anything. This is the step most new owners skip and the one that causes the most costly redesigns.

Spacing Standards You Shouldn't Skip
Spacing isn't a design preference; in most regions it's a legal requirement tied to accessibility and safety codes.
Cardio & Strength Clearances
Industry planning guides commonly recommend allowing roughly 10-30 square feet around each cardio machine and 20-50 square feet around strength equipment, depending on the machine's footprint and movement range. Free weight areas typically need at least three feet of open space around benches and racks, since lifters need room to load plates and move safely without bumping neighboring equipment.
Aisle Width & ADA Minimums
In India, accessibility requirements for public and commercial spaces including gyms are governed by the National Building Code (NBC) 2016 and the Harmonised Guidelines and Space Standards for Barrier-Free Built Environment, both referenced under the Rights of Persons with Disabilities (RPWD) Act, 2016. These set a minimum corridor and passage width of 900mm (roughly 3 feet) to allow safe wheelchair movement, with the same 900mm minimum applying to doorway clear widths. Busy main walkways in a commercial gym are best planned wider than this baseline, since 900mm is a legal minimum for accessibility, not a comfortable standard for two-way member traffic during peak hours. These aren't suggestions that non-compliance can affect building approvals and occupancy certification, on top of the safety and comfort risk to members.
Quick Reference: Layout by Facility Size
Different facility sizes call for different zone splits in your gym floor plan. Use this as a starting benchmark.
Facility Size | Recommended Sq Ft / Member | Typical Zone Priority | Notes |
Small (1,500–2,500 sq ft) | 10–20 sq ft | Compact strength + cardio combo zone | Limited room for a dedicated functional zone; multi-use equipment works best |
Mid-size (3,000–5,000 sq ft) | 25–35 sq ft | Separate cardio, strength & functional zones | Room for a small stretching/recovery corner |
Large / Franchise (10,000+ sq ft) | 25–45 sq ft | Fully zoned: cardio, strength, free weight, functional, recovery | Best suited to franchise-standard layouts and multi-location replication |
These figures are drawn from widely cited industry benchmarks (including guidance referenced by International Health, Racquet & Sportsclub Association IHRSA and commercial gym planning resources) actual space needs will still shift based on your equipment brand footprints and expected peak occupancy.
Zoning Your Floor for Efficiency
Cardio, Strength, Functional & Recovery Zones
Group equipment by purpose, not just by what fits. Cardio machines work best near windows or entry points where members like visibility; strength and free weight areas need to sit toward the back or sides where lifters have room to focus without cutting through main walkways. Functional training space benefits from an open, unobstructed floor rather than fixed machines, and a small recovery or stretching corner even just a mat area gives members a natural cool-down zone instead of stretching in the middle of a walkway.
How Pro Ultimate Supports Gym Layout & Architecture Planning?
Not every project needs the same level of support. Some owners already have a space and just need it equipped correctly; others are setting up a full franchise unit that needs to match a brand standard across multiple cities. Pro Ultimate structures its layout and architecture support around these two scenarios, so the process matches the scale of what you're actually building.

Category 1: Equipment-Only Setup
If you already have your space and simply need it fitted out, Pro Ultimate a gym equipment manufacturer India franchise owners and gym investors rely on focuses the support on getting the essentials right: flooring selection suited to the equipment load and training style, profile lighting placement that keeps zones well-lit without glare on cardio screens or mirrors, and equipment planning that fits your specific floor dimensions. This is the lighter-touch option ideal for owners who've already finalized their space and construction, and just need the equipment layer planned and installed correctly.
Category 2: Full Franchise Setup
When the project is a full Pro Ultimate Franchise unit, the process is more structured, because franchise locations need to maintain a consistent standard while still adapting to each site's actual dimensions. It typically works like this:
Area & sq ft review first before any design work starts, the team reviews the site's total area, often through a video walkthrough, along with precise floor measurements. This confirms what the space can realistically support before any sketch is drawn.
2–3 sketch options for approval based on those measurements, the team prepares two to three layout sketch options. These go to management for review and approval before moving forward, so there's alignment on the plan before any construction or installation begins.
Full execution once approved once a sketch is signed off, the scope covers the complete gym build-out: equipment planning, interior design, ceiling and pantry work, profile lighting, camera installation, and interior detailing for glass partitions and walls.
This structure means every franchise unit gets a layout tailored to its own square footage, while still meeting the same brand and quality standard as every other location which is exactly what makes multi-location expansion manageable instead of a redesign project every time.
If you're opening a new facility or expanding an existing one, reach out for a layout consultation (support@proultimategyms.in) before you sign off on equipment orders.
FAQs
How much square footage do you need per gym member?
Most industry benchmarks fall between 10 and 45 square feet per member depending on facility type; smaller boutique studios can run closer to 10–20 sq ft, while larger commercial gyms with full zoning typically plan for 25–45 sq ft per member at peak hours.
What's the minimum aisle width between gym equipment?
In India, the National Building Code and Harmonized Guidelines under the RPWD Act set a minimum passage width of 900mm (about 3 feet) for accessibility. For actual gym walkways, especially main aisles during peak hours, it's best practice to plan wider than this baseline for comfortable two-way member movement.
Comments